This post will show you the design process of the Abstract Chinese Phoenix, one of my latest illustrations which was presented at the FOWD 2008 conference. I will briefly guide you through the process — from sketching to polishing. Hints and tips will be provided throughout the article. Most importantly, I’ll explain what inspired me for this piece of artwork. If you like this illustration, you may download a high resolution JPG for your desktop wallpaper.
1. Sketching
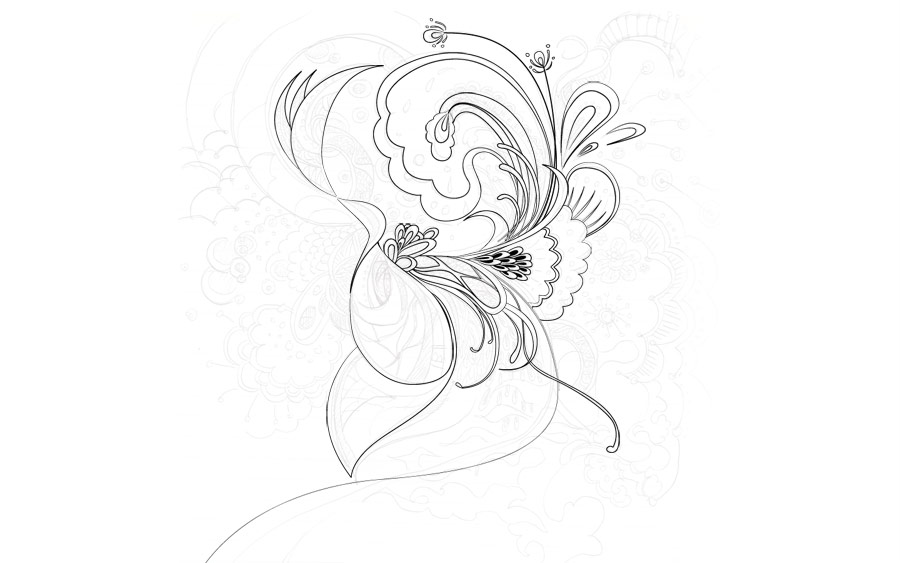
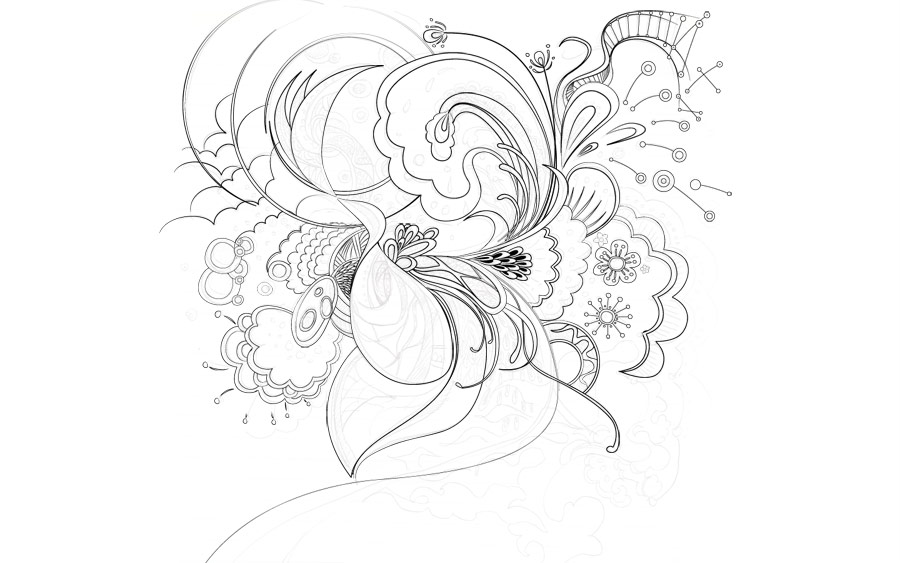
The images below show how I sketched out the phoenix in abstract form. I started off by drawing the phoenix’s body, flowing towards the wings, feathers, and then filling in the details.


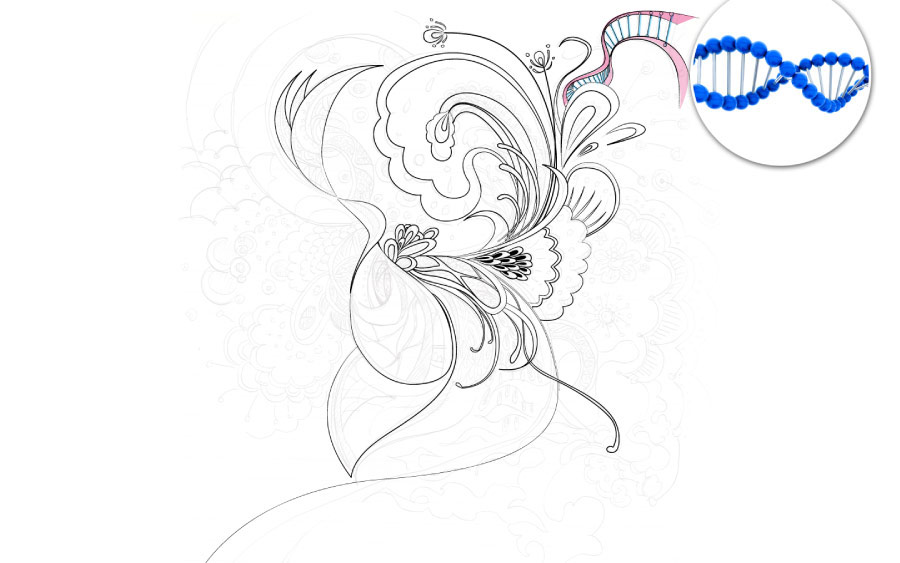
Inspired by Nature
A lot of my design patterns are inspired by natural elements such as:
- DNA Helix
- blowing dandelions
- and the patch patterns on the butterfly wings and tree leaves.


2. Adobe Illustrator - Vectorization
After the sketch was done, I imported it into Illustrator for vector tracing. Here is a tip for tracing artwork in Illustrator:
i) Import the sketch in the first layer, adjust the layer opacity to 20 to 30%, and lock the layer.

ii) Create a new layer on top, hold down the Cmd key and click on the visibility icon to view the layer in outline mode (in this way you can see the sketch underneath).

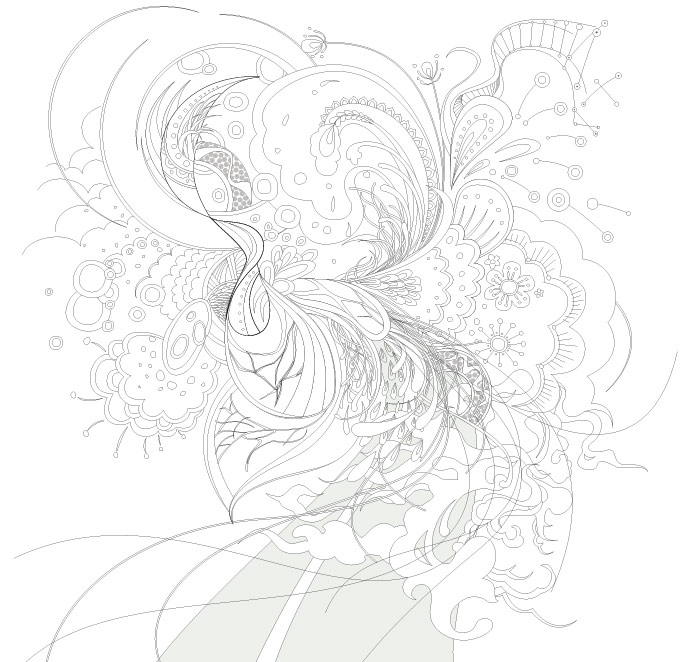
Final Vector Outlines
3. Coloring
For color theme palettes, I go to Adobe’s kuler site and ColourLovers.com. Personally, I like ColourLovers because it allows me to copy and paste the color images directly to Illustrator. I just randomly pick the color palettes from the site and paste them in the artboard. To quickly fill in the color, use the Eyedropper tool to sample the colors and gradients.

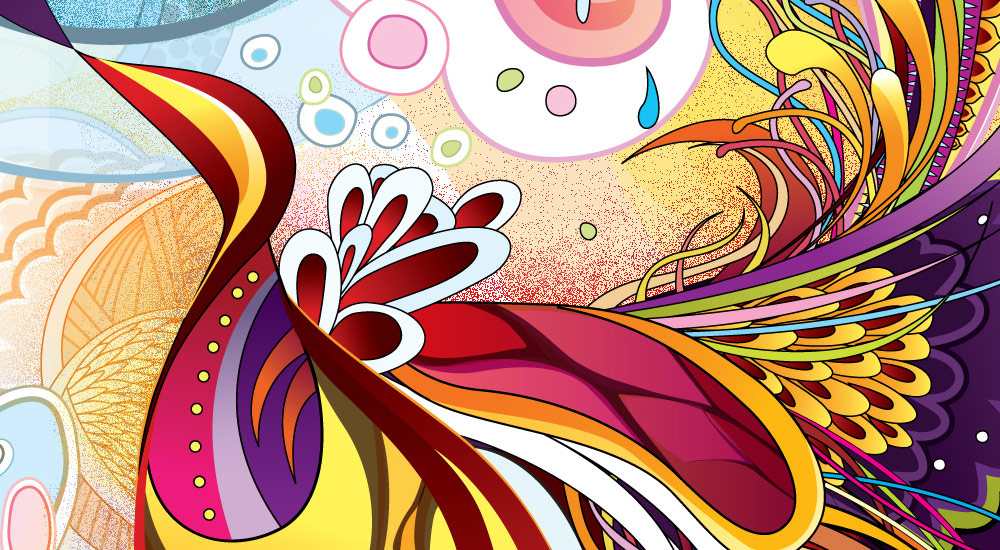
Final Vector Artwork
As I was vectorizng the artwork, I added more elements such as the sky background and the phoenix’s tail.

4. Photoshop Polishing
Then, I imported the vector art in Photoshop and used my Vector Polishing Techniques to spice up the illustration.
Pastel-like Background
To make the background look pastel-like, I used the Pencil tool and lightly brushed up the sky background.

Particle Effects
The particle effects are done by using the layer Dissolve mode (see tutorial: Vector Polishing Techniques).

Depth
I blurred some elements to add more depth to the illustration.

Final Design
0 comments:
Post a Comment